
2. Install and first sign-in
This chapter shows how to start one kudurru node with Docker and how to sign in. It also shows how to make the devices on your network use the node.
Before you start:
- You have a host with Docker. The host has a fixed IP address.
- Port 53 (UDP and TCP) and port 8080 (TCP) are free on the host.
- You can run commands on the host.
NOTE: This chapter covers the shape with one container. For Kubernetes, Docker Compose with more than one node, and Linux packages, use the deployment guides. After the node runs, all the other chapters of this guide apply in the same way.
Prepare the host
On a host that runs systemd-resolved, the stub listener uses port 53.
Turn it off before you start kudurru.
- Open
/etc/systemd/resolved.confin an editor. - Set
DNSStubListener=noin the[Resolve]section. - Restart the service:
sudo systemctl restart systemd-resolved.
Start kudurru
kudurru needs an encryption key. It uses the key to protect sessions and
stored secrets. You also give an initial password for the account admin.
Make a directory for the secrets:
mkdir -p kudurru/secrets && cd kudurruMake the encryption key and the admin password:
openssl rand -base64 32 > secrets/encryption_key
openssl rand -base64 18 > secrets/admin_password
Start the container:
docker run -d --name kudurru --restart unless-stopped \
  -p 53:53/udp -p 53:53/tcp -p 8080:8080 \
  -v kudurru-data:/var/lib/kudurru \
  -v "$PWD/secrets:/run/secrets:ro" \
  -e KUDURRU_ENCRYPTION_KEY_FILE=/run/secrets/encryption_key \
  -e KUDURRU_ADMIN_PASSWORD_FILE=/run/secrets/admin_password \
  ghcr.io/robertherbaugh/kudurru:0.1.0
Make sure that the node is ready:
docker exec kudurru kudurru health --readyAsk the node for a name:
dig @127.0.0.1 example.com
The command in step 5 shows an answer with the status NOERROR.
NOTE: Use the version number of the release that you install. The version in this guide is an example.
CAUTION: Keep a copy of secrets/encryption_key in a safe place. If you
lose the key, kudurru cannot read the secrets that it stored.
Without a configuration file, kudurru uses these defaults:
- It listens for plain DNS on port 53.
- It asks the upstreams 1.1.1.1 and 9.9.9.9.
- It blocks the names on the built-in starter list.
- It keeps a query log.
Use a configuration file
Some settings are for the host only. Examples are the ports and the block
page. You set them in the file kudurru.yaml. The container reads the file
at /etc/kudurru/kudurru.yaml. Objects that you keep in files go in the
directory /etc/kudurru/objects.d.
Make the file
kudurru.yamlin the directorykudurru. The file can be empty at first.Stop and remove the container:
docker stop kudurru && docker rm kudurruStart the container again. Add this line to the command of the section Start kudurru, before the image name:
-v "$PWD/kudurru.yaml:/etc/kudurru/kudurru.yaml:ro" \
The data is in the volume kudurru-data. It stays when you remove the
container. After each change of the file, restart the container with
docker restart kudurru.
Sign in
- Open
https://<host>:8080/in a browser. Replace<host>with the address of the host. - If the browser shows a certificate warning, accept it for this visit. See the note below.
- Enter
adminin Username. - Enter the content of
secrets/admin_passwordin Password. - Click Sign in.
NOTE: kudurru makes a self-signed certificate at the first start. Browsers
warn about it. To remove the warning, set listeners.api.tls.certFile and
listeners.api.tls.keyFile to your own certificate. You can also turn off
TLS if a reverse proxy in front of kudurru terminates it.
Figure 1 shows the sign-in page.
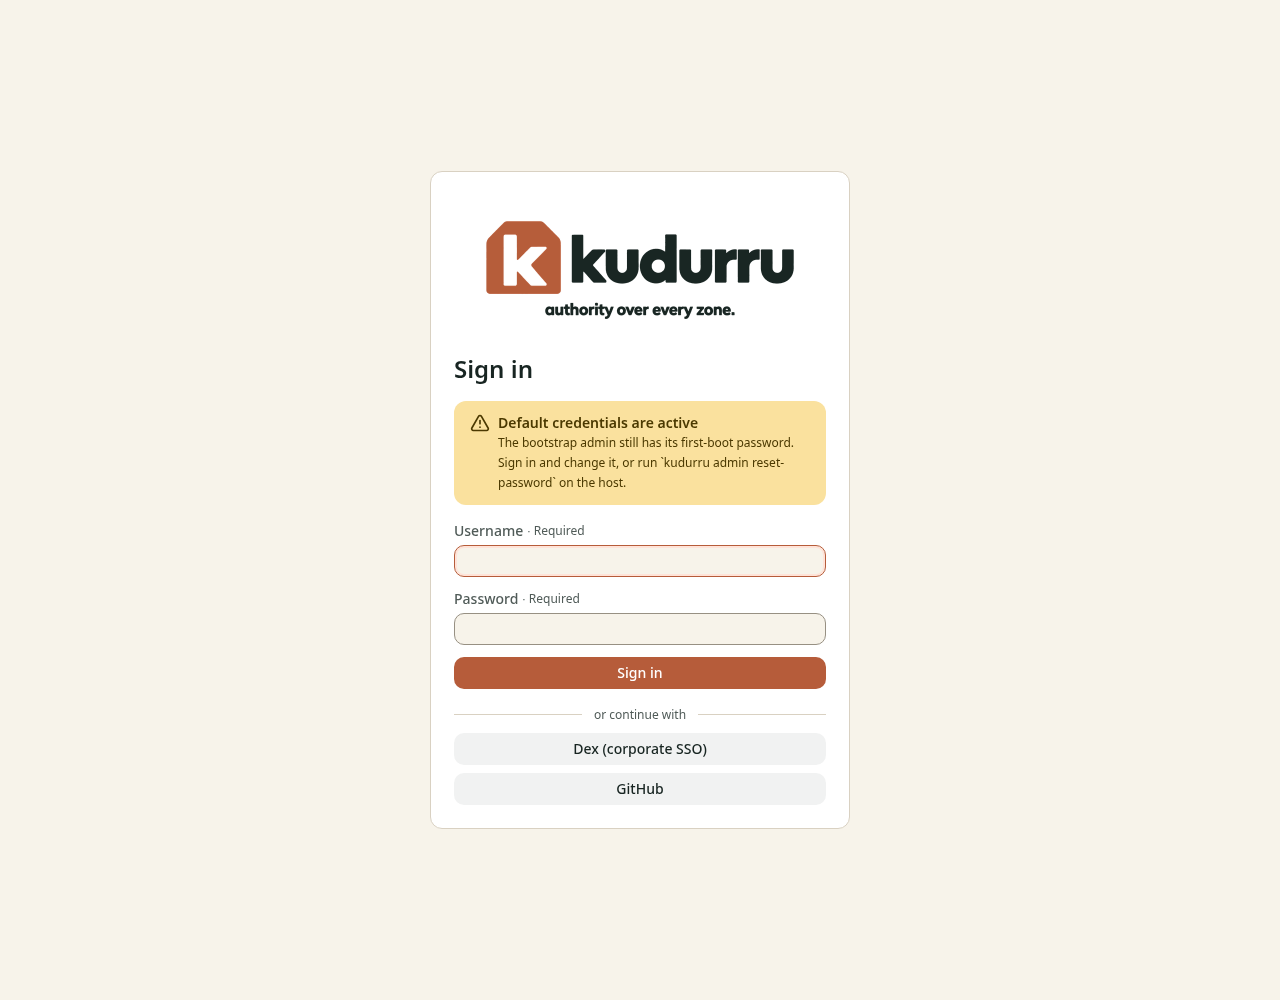
Figure 1. The sign-in page.
The page shows a yellow message Default credentials are active when
the account admin still has its first password. If the administrator set
up single sign-on, the page also has one button for each identity provider.
If you did not give a password file, kudurru made a password and wrote it once in the log of the first start. Read it with this command:
docker logs kudurru 2>&1 | grep -i password
Change the password
The dashboard asks you to change the first password. You can also do it at any time.
- Click the key icon at the top right of the page.
- Enter the Current password.
- Enter a New password. Use 8 characters or more.
- Enter the new password again in Confirm password.
- Click Change password.
Figure 2 shows the dialog.
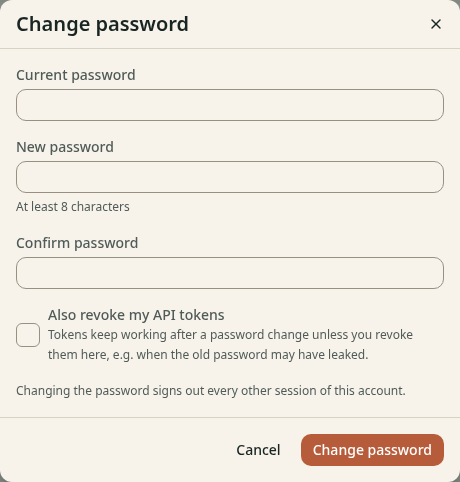
Figure 2. The dialog Change password.
The dashboard signs out all the other sessions of the account. kudurru
reads the file secrets/admin_password only while no user exists. A change of the
file later has no effect.
Check the first dashboard
After you sign in, the dashboard shows the page in Figure 3. The yellow bar at the top shows that the account still has its default password. It goes away after you change the password.
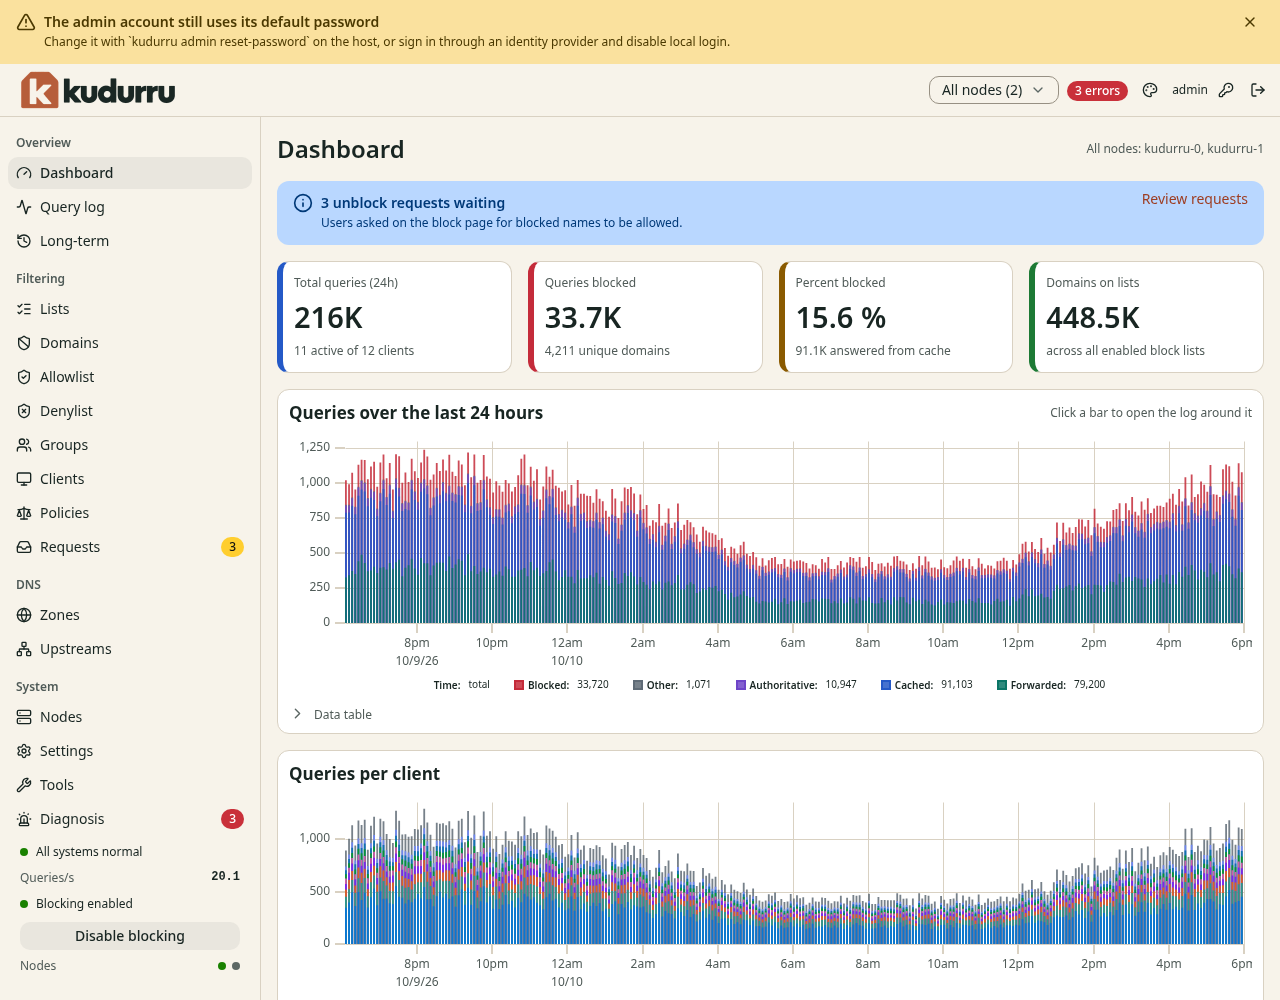
Figure 3. The dashboard after the first sign-in.
A new node has no traffic. The numbers stay at zero until a client uses the node.
Point the network at kudurru
Make the devices on your network use kudurru as their DNS server. kudurru does not give out IP addresses. Use your router or your DHCP server.
- Open the settings of your router or DHCP server.
- Find the setting for the DNS server. It can have the name DNS server or Primary DNS.
- Enter the IP address of the kudurru host.
- Save the setting.
- Restart the network connection on one client, or wait for the DHCP lease to renew.
Then test from the client:
dig @<host> example.com
Open the Query log page. The queries of the client show in the table. Chapter 3 explains the page.
Check the node
The Tools page can check the node.
- Open System > Tools.
- Click Run checks in the Doctor section.
The page lists each check with its result. Chapter 8 explains the checks.
Next steps
- Chapter 3: watch the network
- Chapter 4: add block lists
- Chapter 5: make rules for groups of devices