
Create a client policy
Before you start
- You need the
operatororadminrole. - You need a client group and any lists the policy uses.
- You need a license key for policies beyond
default.
Without a key, edit the default policy instead. An allow list wins over block lists and blocked services.
Start the policy
- Open Filtering > Policies.
- Click New policy.
- Enter a Name on Who.
- Select at least 1 entry in Client groups.
- Enter a Priority.
- Click Next to open What.
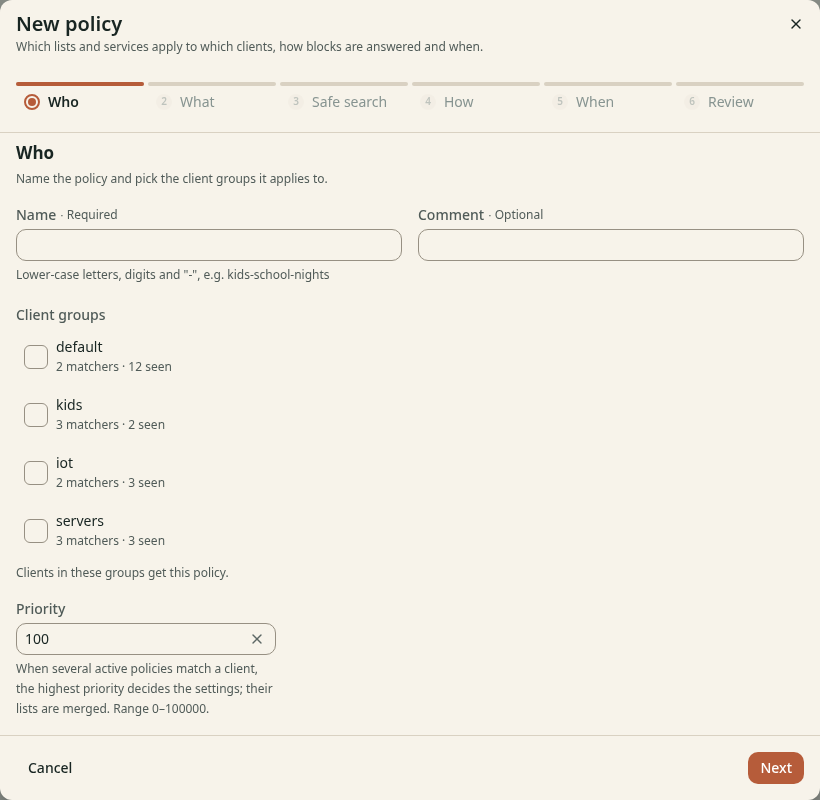
Figure 1. A policy needs a client group before it can affect devices.
Higher priority numbers decide settings when active policies overlap. Lists from matching policies still merge.
Choose the behavior
- Select the Block lists and Allow lists on What.
- Select any services or content categories to block.
- Click Next to open Safe search.
- Turn on Enforce safe search if needed.
- Click Next to open How.
- Select the block response, TTL and upstream group for this policy.
- Click Next to open When.
- Keep Always, or select Only during a time window.
- Set the days, start, end and time zone for a time window.
- Click Next to open Review.
- Read the summary.
- Click Create policy.
CAUTION: Allow only blocks every name except names on allow lists. Keep it off unless you want that restriction.
Turn off Log these clients' queries only when you intend to exclude their queries from the log and statistics. Large content categories can need substantial memory on every node.
Check the result
The policy detail page opens. Read Right now for its state. Use Check a policy to test an affected client before wider use.