
Choose upstream DNS servers
Before you start
- You need the
adminrole to change upstream groups. - You need reachable resolvers and working bootstrap DNS for resolver hostnames.
Create a group
- Open DNS > Upstreams.
- Click New group.
- Select a provider on Provider, or select Custom.
- Click Next to open Servers.
- Select the filtering option and Transport.
- Click Next to open Group.
- Enter a Name and select a Strategy.
- Click Next to open Review.
- Click Create group.
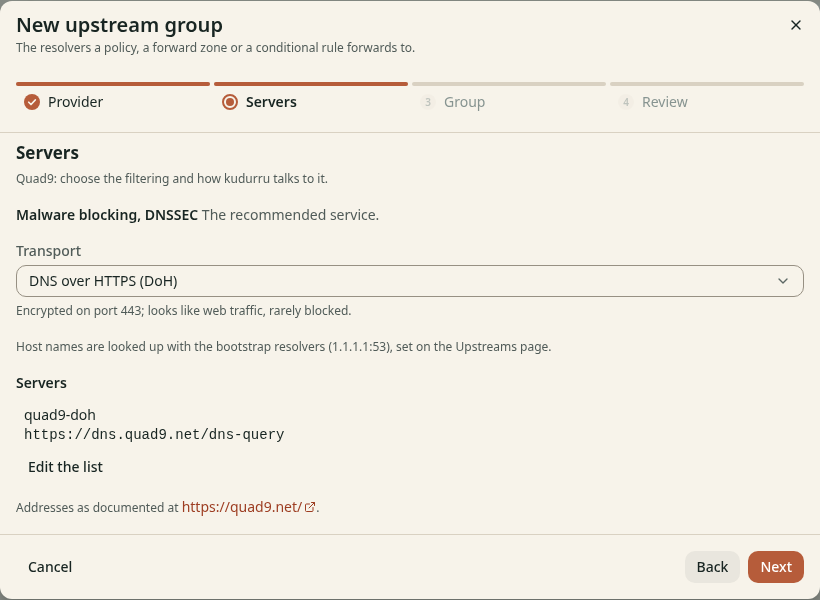
Figure 1. An encrypted transport protects queries on the path to the upstream.
For Custom, use addresses such as 9.9.9.9:53, tls://dns.quad9.net
or https://dns.quad9.net/dns-query.
Add a plain address:port in Bootstrap resolvers when resolver hostnames need it.
Use and maintain the group
- Open the group's detail page.
- Check each server's health, RTT and errors.
- Select the group in a policy or a forward zone.
- Query a name that uses that policy or zone.
Creating a group alone does not change where clients' queries go.
The default group handles queries without another route.
To route one suffix, add it under Conditional forwarding, select its group,
then click Save rules. The longest suffix wins.
Edit Settings on the group detail page to change servers, strategy or timeout.
You cannot delete default or a group that is still in use.
For recursion and DNSSEC, follow the resolver procedure.
Check the result
The group shows healthy servers. Query log names the expected upstream for a test query. Use Tools with As client when policies choose different groups.